Pellet Stove Pipe Kit: Step-by-Step Guide
When it comes to heating your home efficiently and sustainably, a pellet stove is a fantastic choice. Pellet stoves use compressed wood pellets to create a clean and cost-effective source of warmth.
However, to get the best performance from your stove, you need the right equipment—specifically a Pellet Stove Pipe Kit.
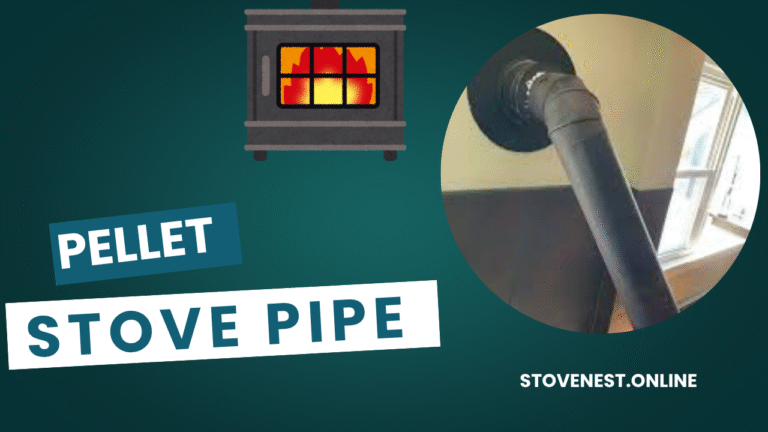
A pellet stove pipe kit is crucial for venting the smoke and gases produced during the burning of pellets. It helps ensure that your home stays safe and your stove functions properly. This kit includes various components like the vent pipes, elbows, and caps, all of which are necessary for the proper operation of your stove.
Visit The Stoves Nest for detailed information on all types of stoves
Why You Need a Pellet Stove Pipe Kit
Installing a pellet stove pipe kit ensures that your stove operates efficiently and safely. Here are a few reasons why a pellet stove pipe kit is necessary:
- Proper Ventilation:
Pellet stoves generate gases that need to be safely vented out of your home. A good pipe kit ensures these gases are directed outside. - Safety:
Without proper venting, harmful gases like carbon monoxide can build up in your home, posing a significant health risk. - Efficiency:
A correctly installed pellet stove pipe kit ensures optimal airflow, helping your stove burn pellets efficiently and reducing the need for maintenance. - Code Compliance:
In many areas, building codes require specific venting systems for pellet stoves, making the use of a pellet stove pipe kit a legal necessity.
Pellet Stove Pipe: The Information You Need
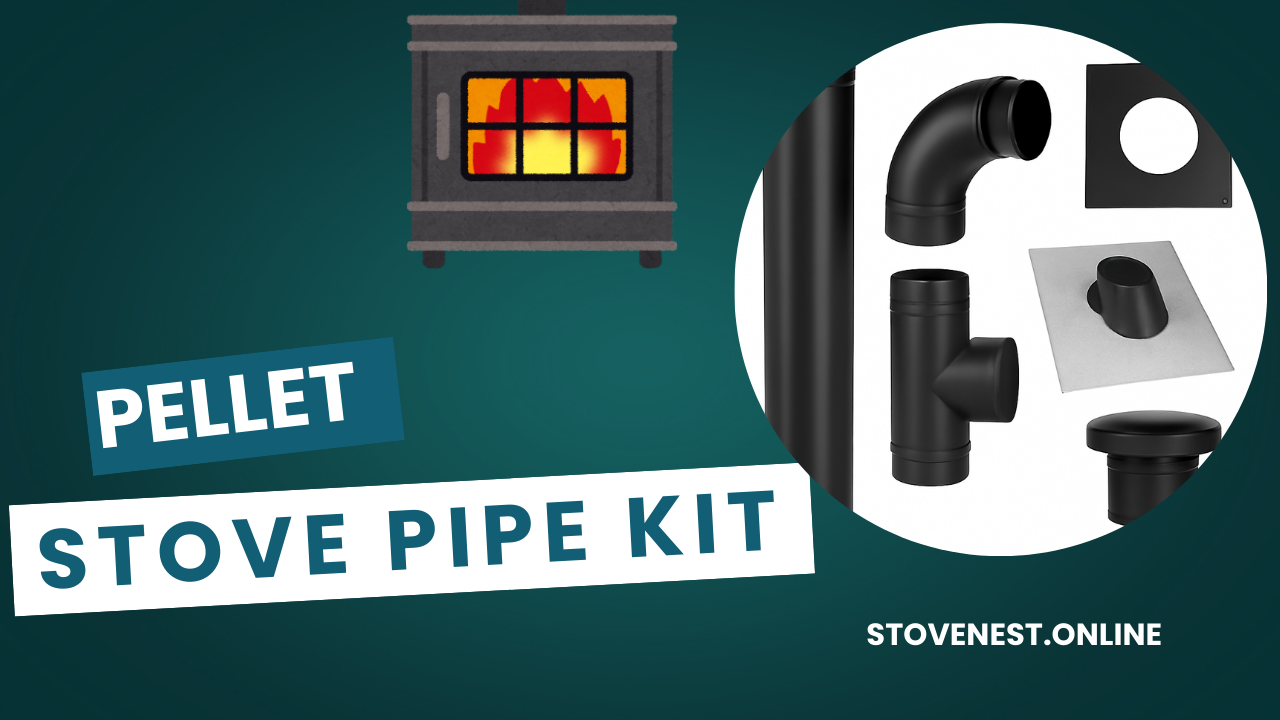
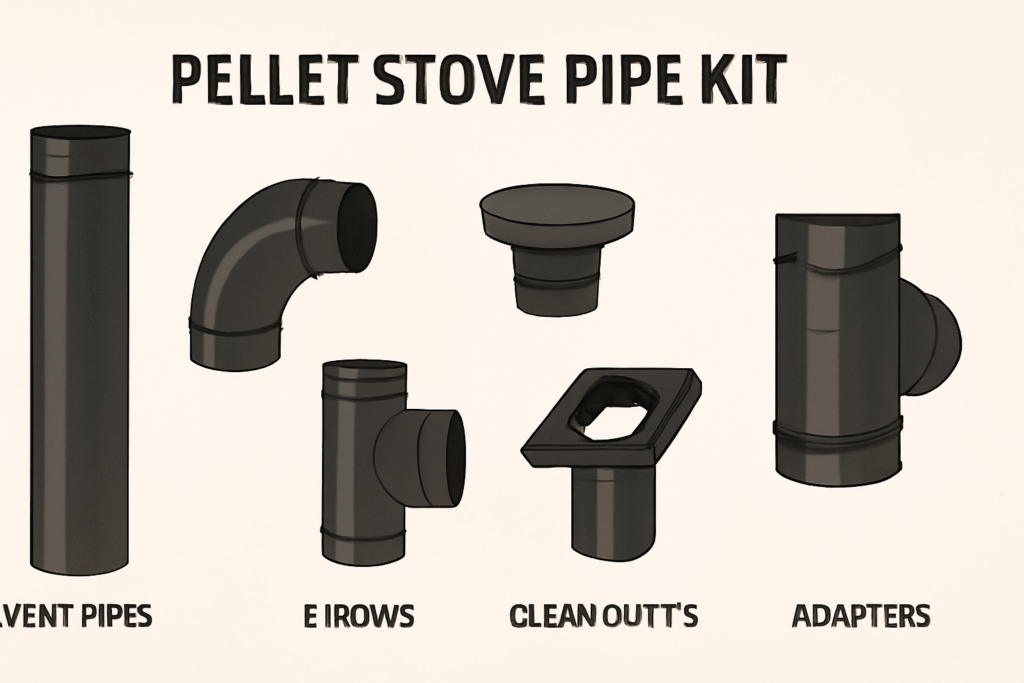
Components of a Pellet Stove Pipe Kit
Pellet stove pipe kits typically include several components designed for optimal operation. These parts ensure that your pellet stove is both efficient and safe. Here’s a breakdown of what you might find in a typical kit:
1. Vent Pipes
The vent pipes are the primary components of the stove pipe kit. These pipes carry the exhaust gases from the pellet stove to the outside of your home. Most pellet stove kits use stainless steel or galvanized steel vent pipes, which are resistant to high heat and corrosion.
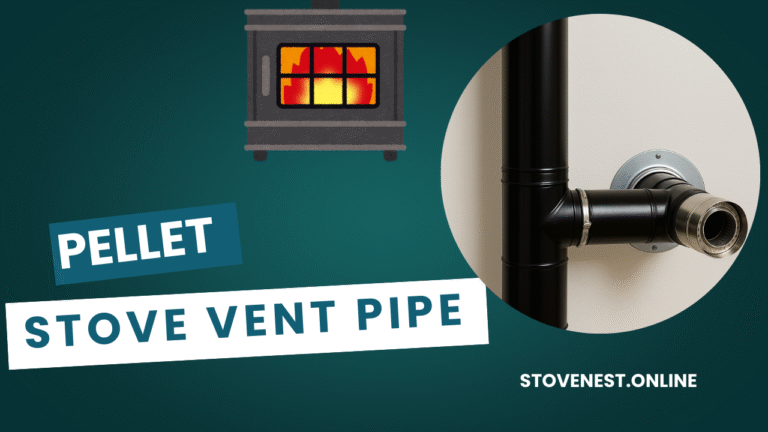
2. Elbows
Elbows help to direct the exhaust pipes in the right direction, allowing for a more flexible installation. If you need to bend the vent pipes to fit your space, these elbows are essential.
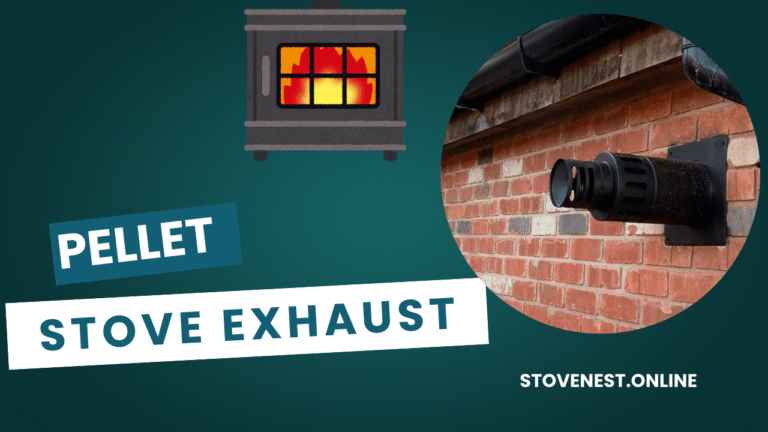
3. Caps
Caps are used to seal the vent pipe at the exterior of your home. These caps prevent rain, snow, or debris from entering the system while allowing the gases to escape safely.
4. Clean-Out T’s
A clean-out T is a piece that makes it easier to clean your pellet stove pipe. It provides access for cleaning the vent system, which is crucial for maintaining the efficiency and safety of your stove.
5. Adapters
Adapters are used to connect various pieces of pipe or to transition from one pipe size to another. They ensure that the venting system fits properly.
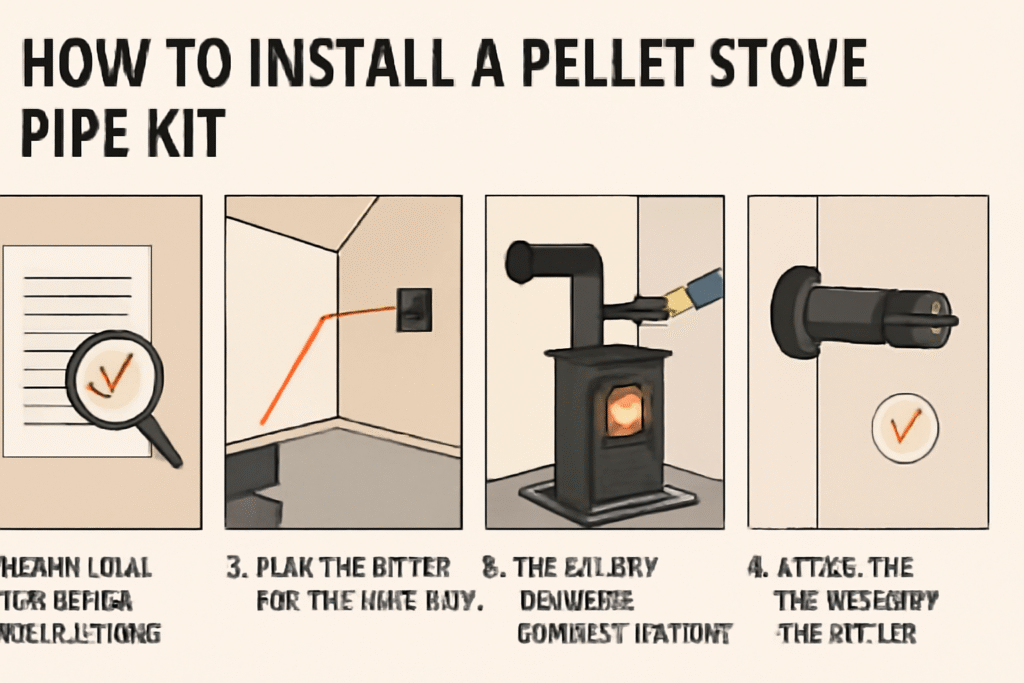
How to Install a Pellet Stove Pipe Kit
Installing a pellet stove pipe kit can seem daunting, but it’s a manageable project with the right tools and steps. Here’s a simple guide to help you through the installation process.
Step 1: Check Local Codes and Regulations
Before starting your installation, check your local building codes. Some areas have specific requirements for venting systems, and it’s important to follow them to ensure safety and compliance.
Step 2: Plan the Route for the Vent Pipe
Determine where the vent pipe will exit your home. It’s crucial that the pipe runs with a slight upward slope, ensuring that gases flow smoothly outside.
Step 3: Install the Stove and Connect the Vent Pipes
Once your stove is in place, connect the vent pipes. Begin with the pipe that connects directly to the stove’s exhaust outlet, and use the necessary elbows to navigate the system toward the wall or ceiling.
Step 4: Secure the Venting System
Make sure the vent pipes are secured with appropriate brackets and fasteners to prevent any movement.
Step 5: Attach the Cap and Test the System
After the pipes are installed, attach the cap to the outside vent. Once everything is in place, test the stove to ensure it’s venting properly and that no smoke is leaking inside.
Maintenance Tips for Pellet Stove Pipe Kits
Maintaining your pellet stove pipe kit is essential for ensuring long-term performance and safety. Here are some maintenance tips to follow:
- Regular Cleaning:
Pellet stoves create ash, which can accumulate in the vent pipes. Clean the pipes regularly to avoid blockages that could cause the stove to malfunction. - Check for Leaks:
Periodically check your pipes and connections for leaks or cracks, as they can compromise the efficiency and safety of your system. - Inspect the Cap:
Ensure the exterior vent cap is free from debris, as a blocked cap can reduce ventilation and affect the stove’s performance. - Hire a Professional:
If you’re not comfortable cleaning or inspecting the pipes yourself, consider hiring a professional to perform regular maintenance.
Choosing the Right Pellet Stove Pipe Kit
When selecting a pellet stove pipe kit, consider the following factors:
- Size of Your Stove:
Make sure the pipe kit you choose matches the size of your stove. The pipe diameter must align with the stove’s exhaust outlet to maintain proper airflow. - Material:
Choose a pipe kit made from durable materials like stainless steel or galvanized steel, as these are resistant to corrosion and high temperatures. - Installation Requirements:
Depending on your home’s layout, you may need additional elbows, adapters, or extensions. Be sure to check the kit contents before purchasing.
Conclusion
A pellet stove pipe kit is an essential investment for anyone using a pellet stove. It ensures safe venting, optimal efficiency, and compliance with building codes. Whether you’re installing a new system or replacing an old one, following the proper installation and maintenance procedures will keep your stove running smoothly for years.